A glutenfree and milk free lifestyle does not have to be as difficult as it sometimes would seem. You can even transform your favourite dishes into delicious glutenfree and milk free pieces of heaven. You just have to know what to change the different things to. It is kind of like those times you attempt to go sugar free for some time, or go on a diet. At first it is difficult, because you have to change your mindset on many areas. You have to find the middle way, that will not make you miss your old habits but look forward to new one’s. For me, I sometimes miss the simplicity. Whipped cream in my Irish Coffee. But, the more I learned how to adjust the recipes and food to something I could actually enjoy. I don’t miss my old life as much anymore. Actually, I don’t want to go back. I never felt better. For me to be adding different recipes in on this particular blog, has nothing to do with publishing them as my creation. They are not. I adjusted them here and there to be something I could enjoy. Furthermore, this blog is just as much an attempt to make it easier for my friends who does not have the same issues with food as I do. To make it easier for them to make food for me as well.


And, on one hand, I want to share the recipes because there is not many out there like these. Either the recipes’ are glutenfree and lactose-free or just one of the other. Lactose intolerance is not the same as avoiding dairy products all together. There’s a difference and that is why I share the recipes. On the other hand, I use this blog as my own library. That way I can remember them and re-use them.


So what’s the point of this blog? Well, I want to share with you, who are in the beginning of this journey of a glutenfree and milkfree lifestyle, that there is a light at the end of the tunnel. You will be able to eat normally. Just, a new normal. I want to share with you, who have a friend that is eating according to this specific lifestyle, that it is possible to make easy and not necessarily expensive food and cakes for them.


And, I want to tell my younger self, tumbling out of the doctors office, having a food-deshavu of all the things that I suddenly couldn’t eat: It gets easier. One day you will only have a slight regret when walking past Dunkin Donut’s knowing you will never experience the taste of those deliciously and nasty looking bread-thingies.

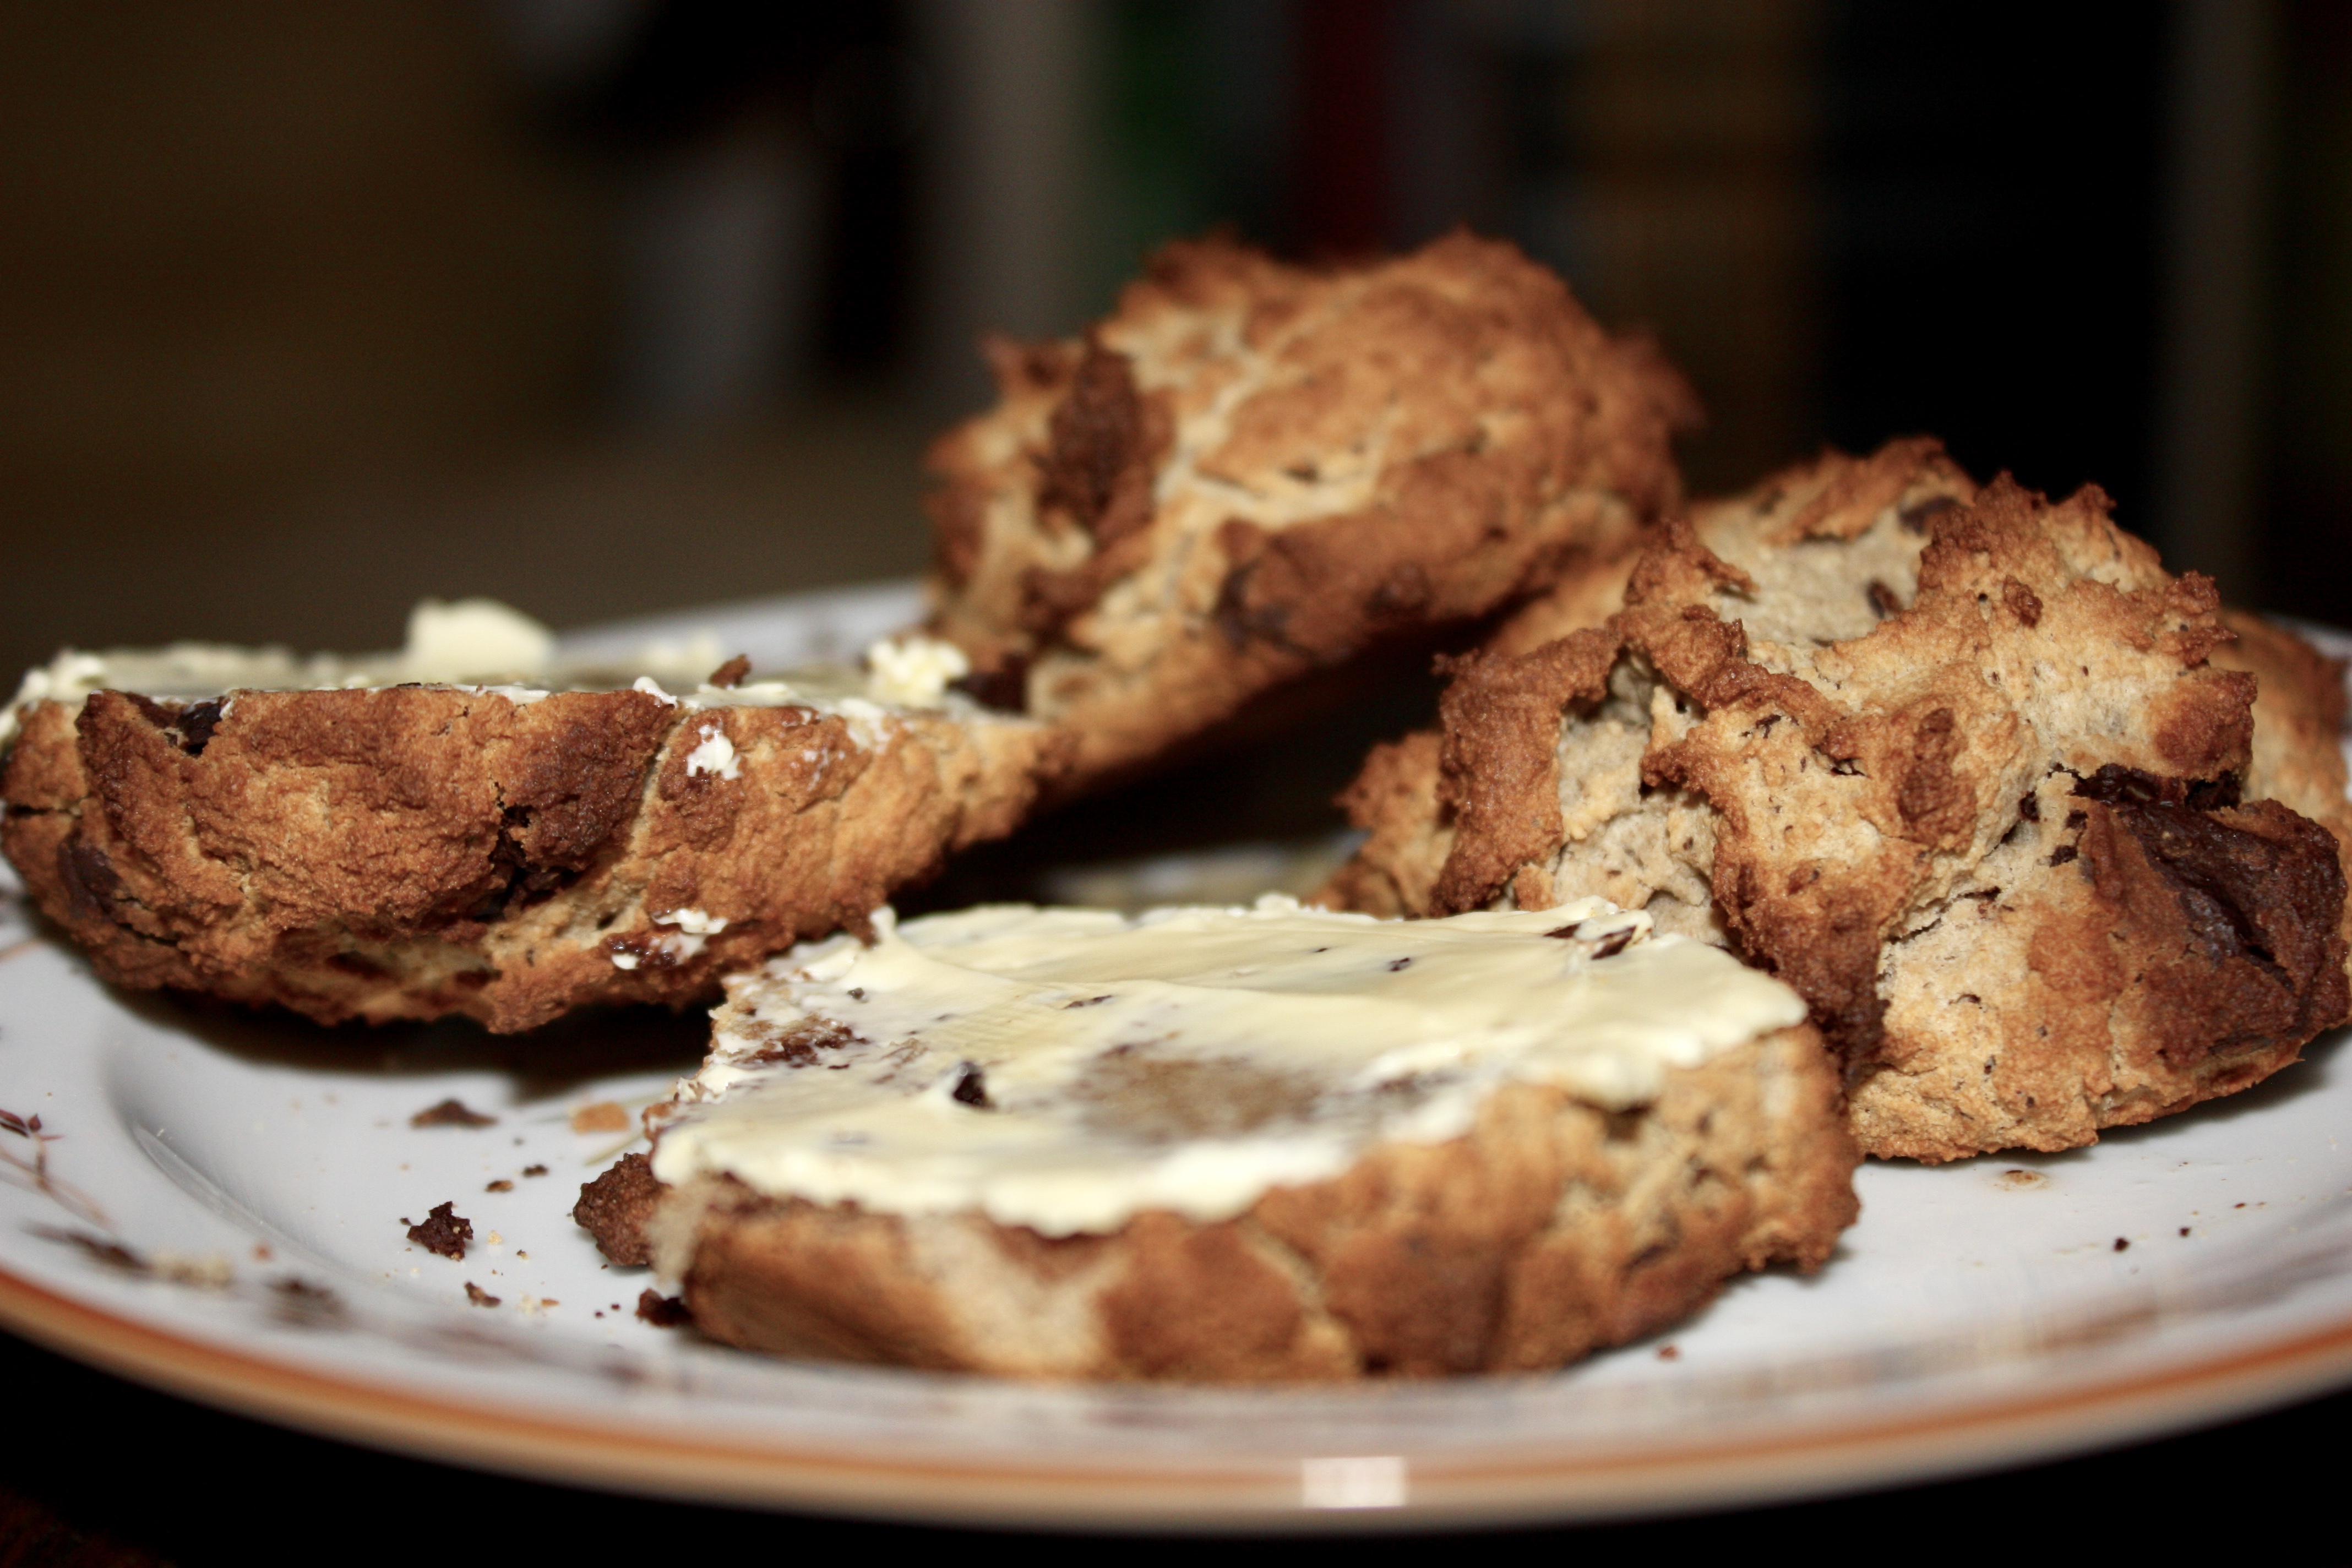
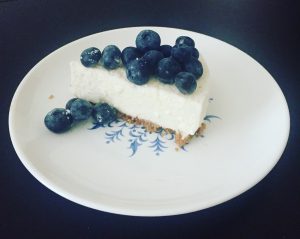
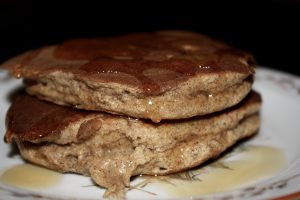
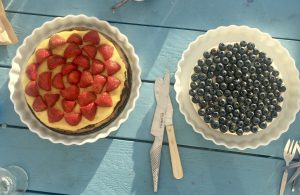
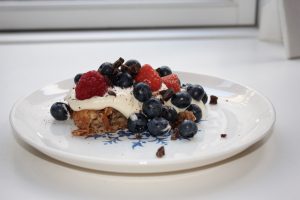
If any of the cakes above have caught your attention, you will find the recipe’s here.

Share

I’ve been dying to try making something “breakfast-y” for the easy and fast breakfast. So, inspired by different healthy muffin recipes, I’ve assembled the best of all worlds and these are what came out of it. They are good straight out of the oven, but they are also good the day after. 🙂

Ingredients:
2 ripen bananas.
3 eggs.
2-3 tbsp Peanutbutter
1 tsp baking powder.
1 tsp vanilla
1 tsp Cinnamon
1,5 decilitre muesli (Glutenfree oatmeal blended and a handful almonds chopped is one version, another could be this muslin I’ve made with great success (of course with glutenfree oatmeals and I admit to leave out the rasins).

First you mash the bananas to a coherent mass. Then you add the baking powder, vanilla, cinnamon, and muesli into the mixture and mix it up good. Then add the peanutbutter to the mix as well. The mixture are divided into muffinforms (you can add a piece of chocolate to each muffin – just make sure it is a dark chocolate (70 percent and up) and make sure t
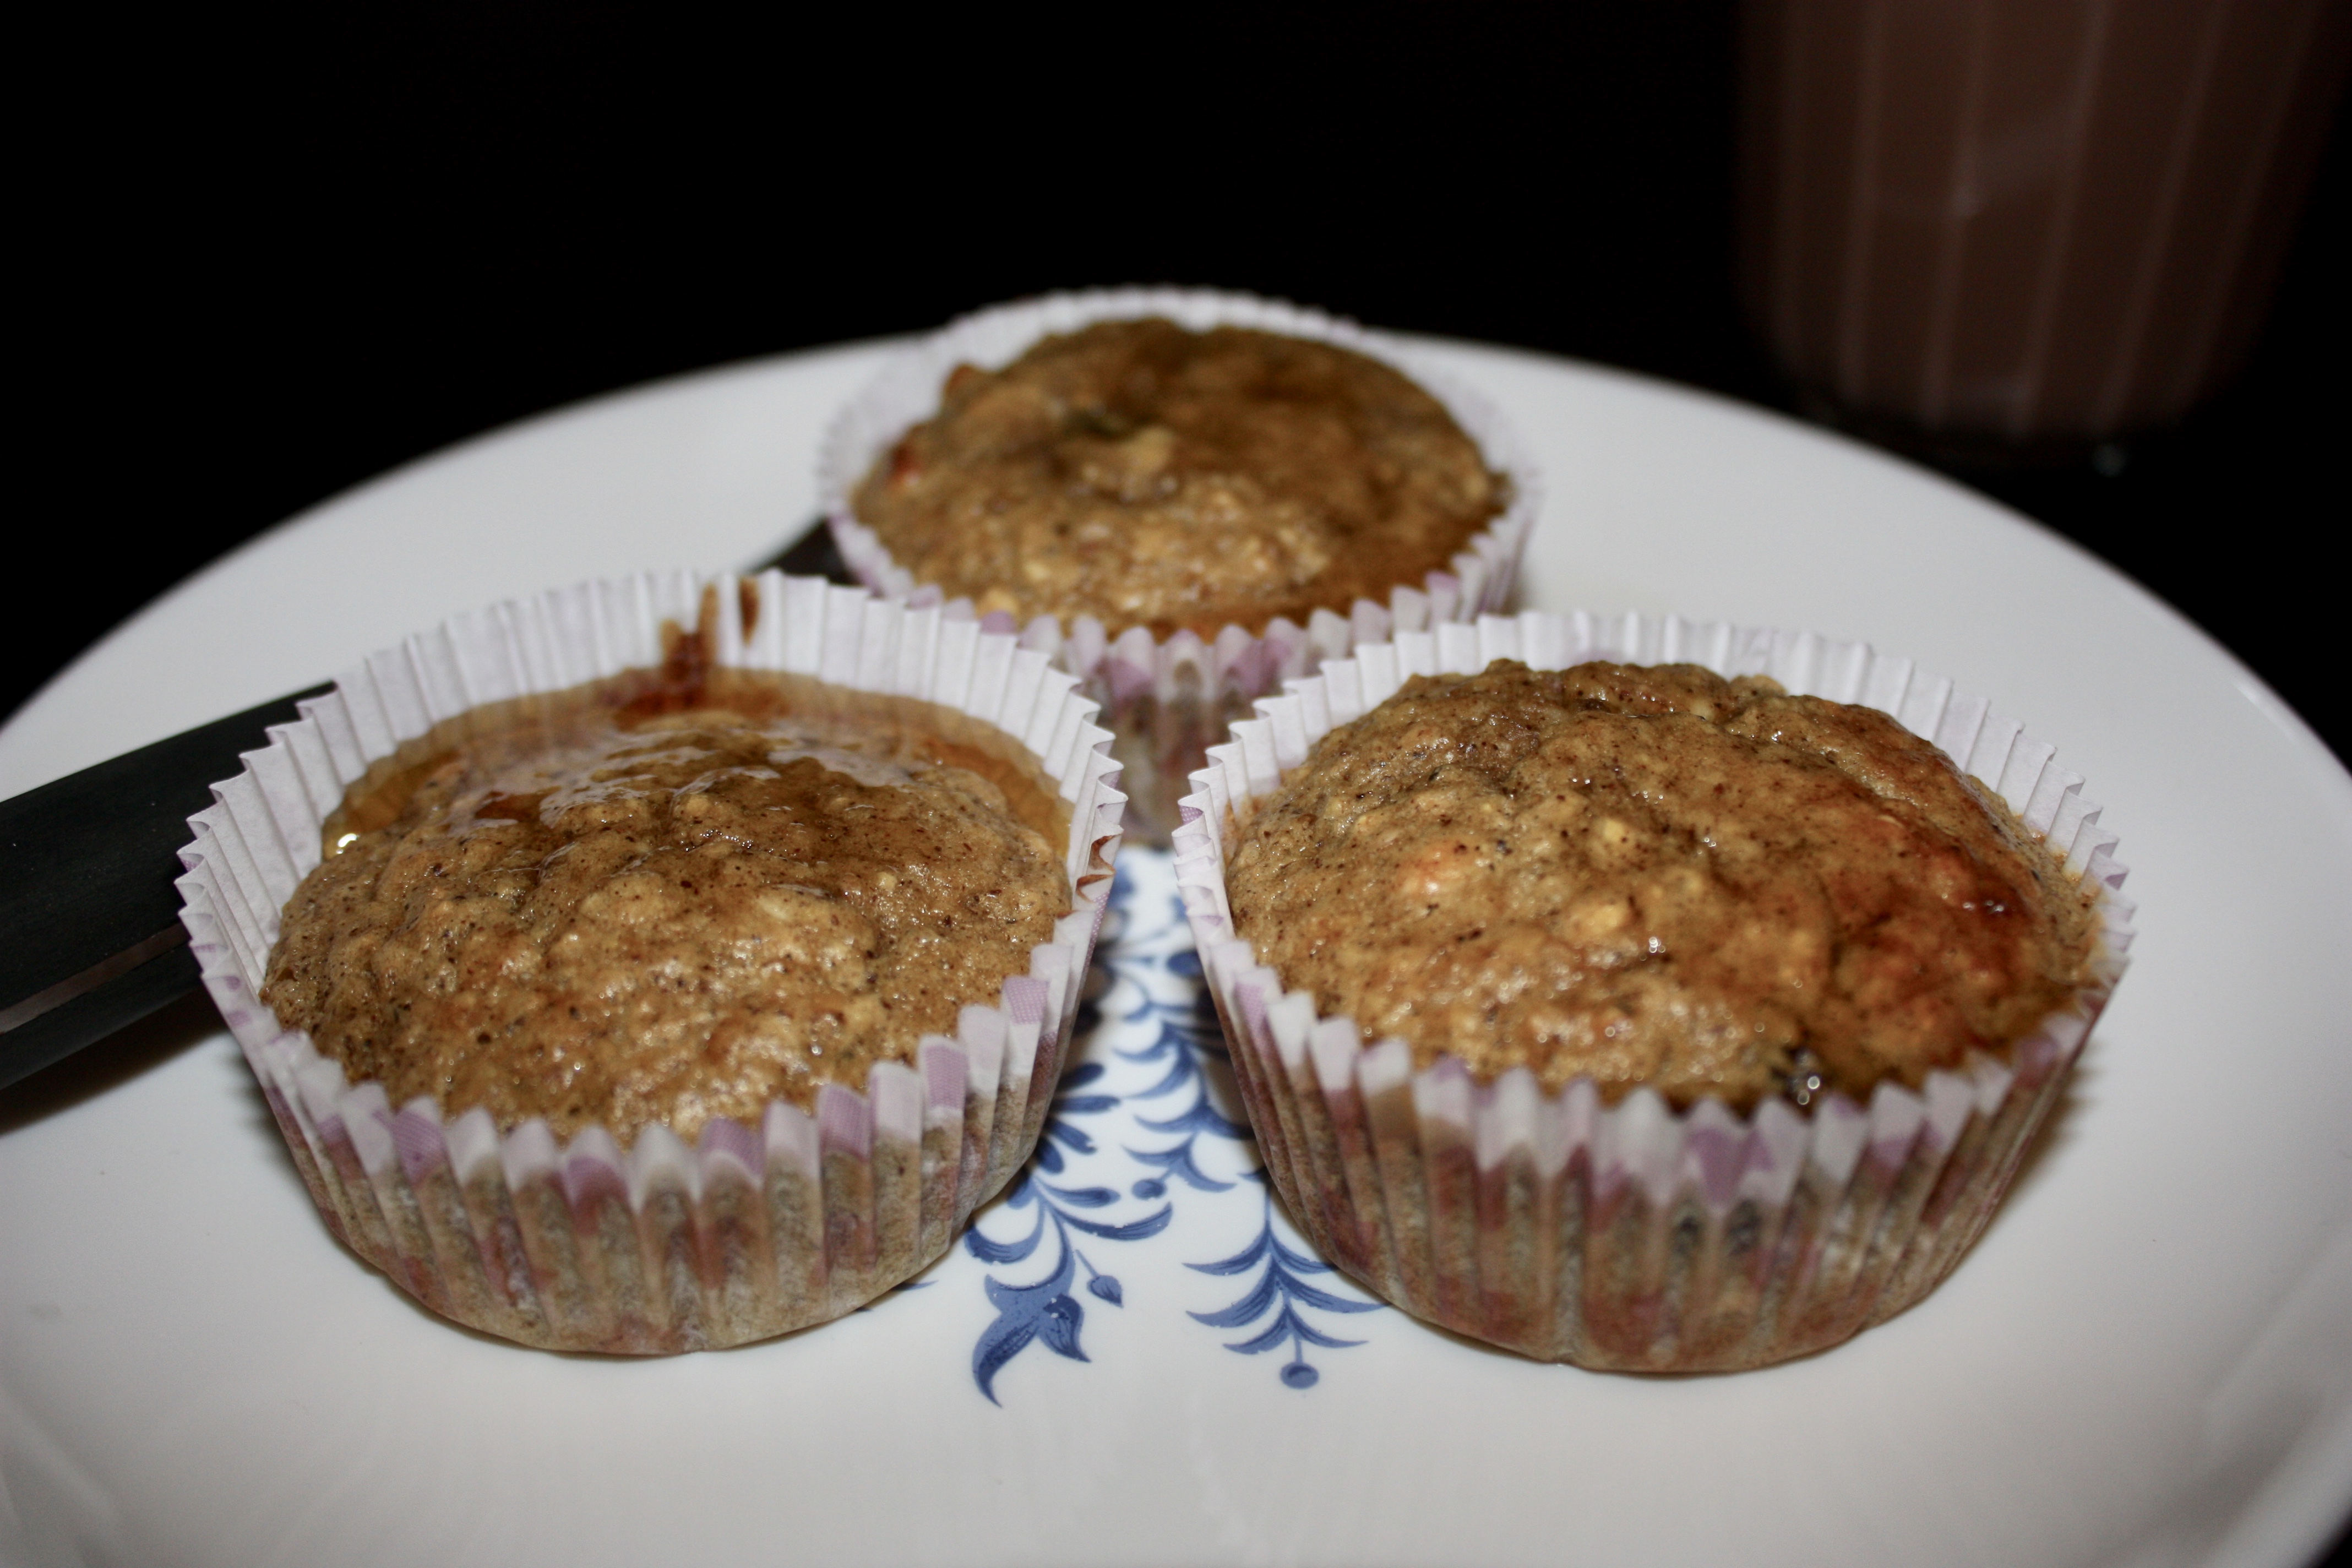
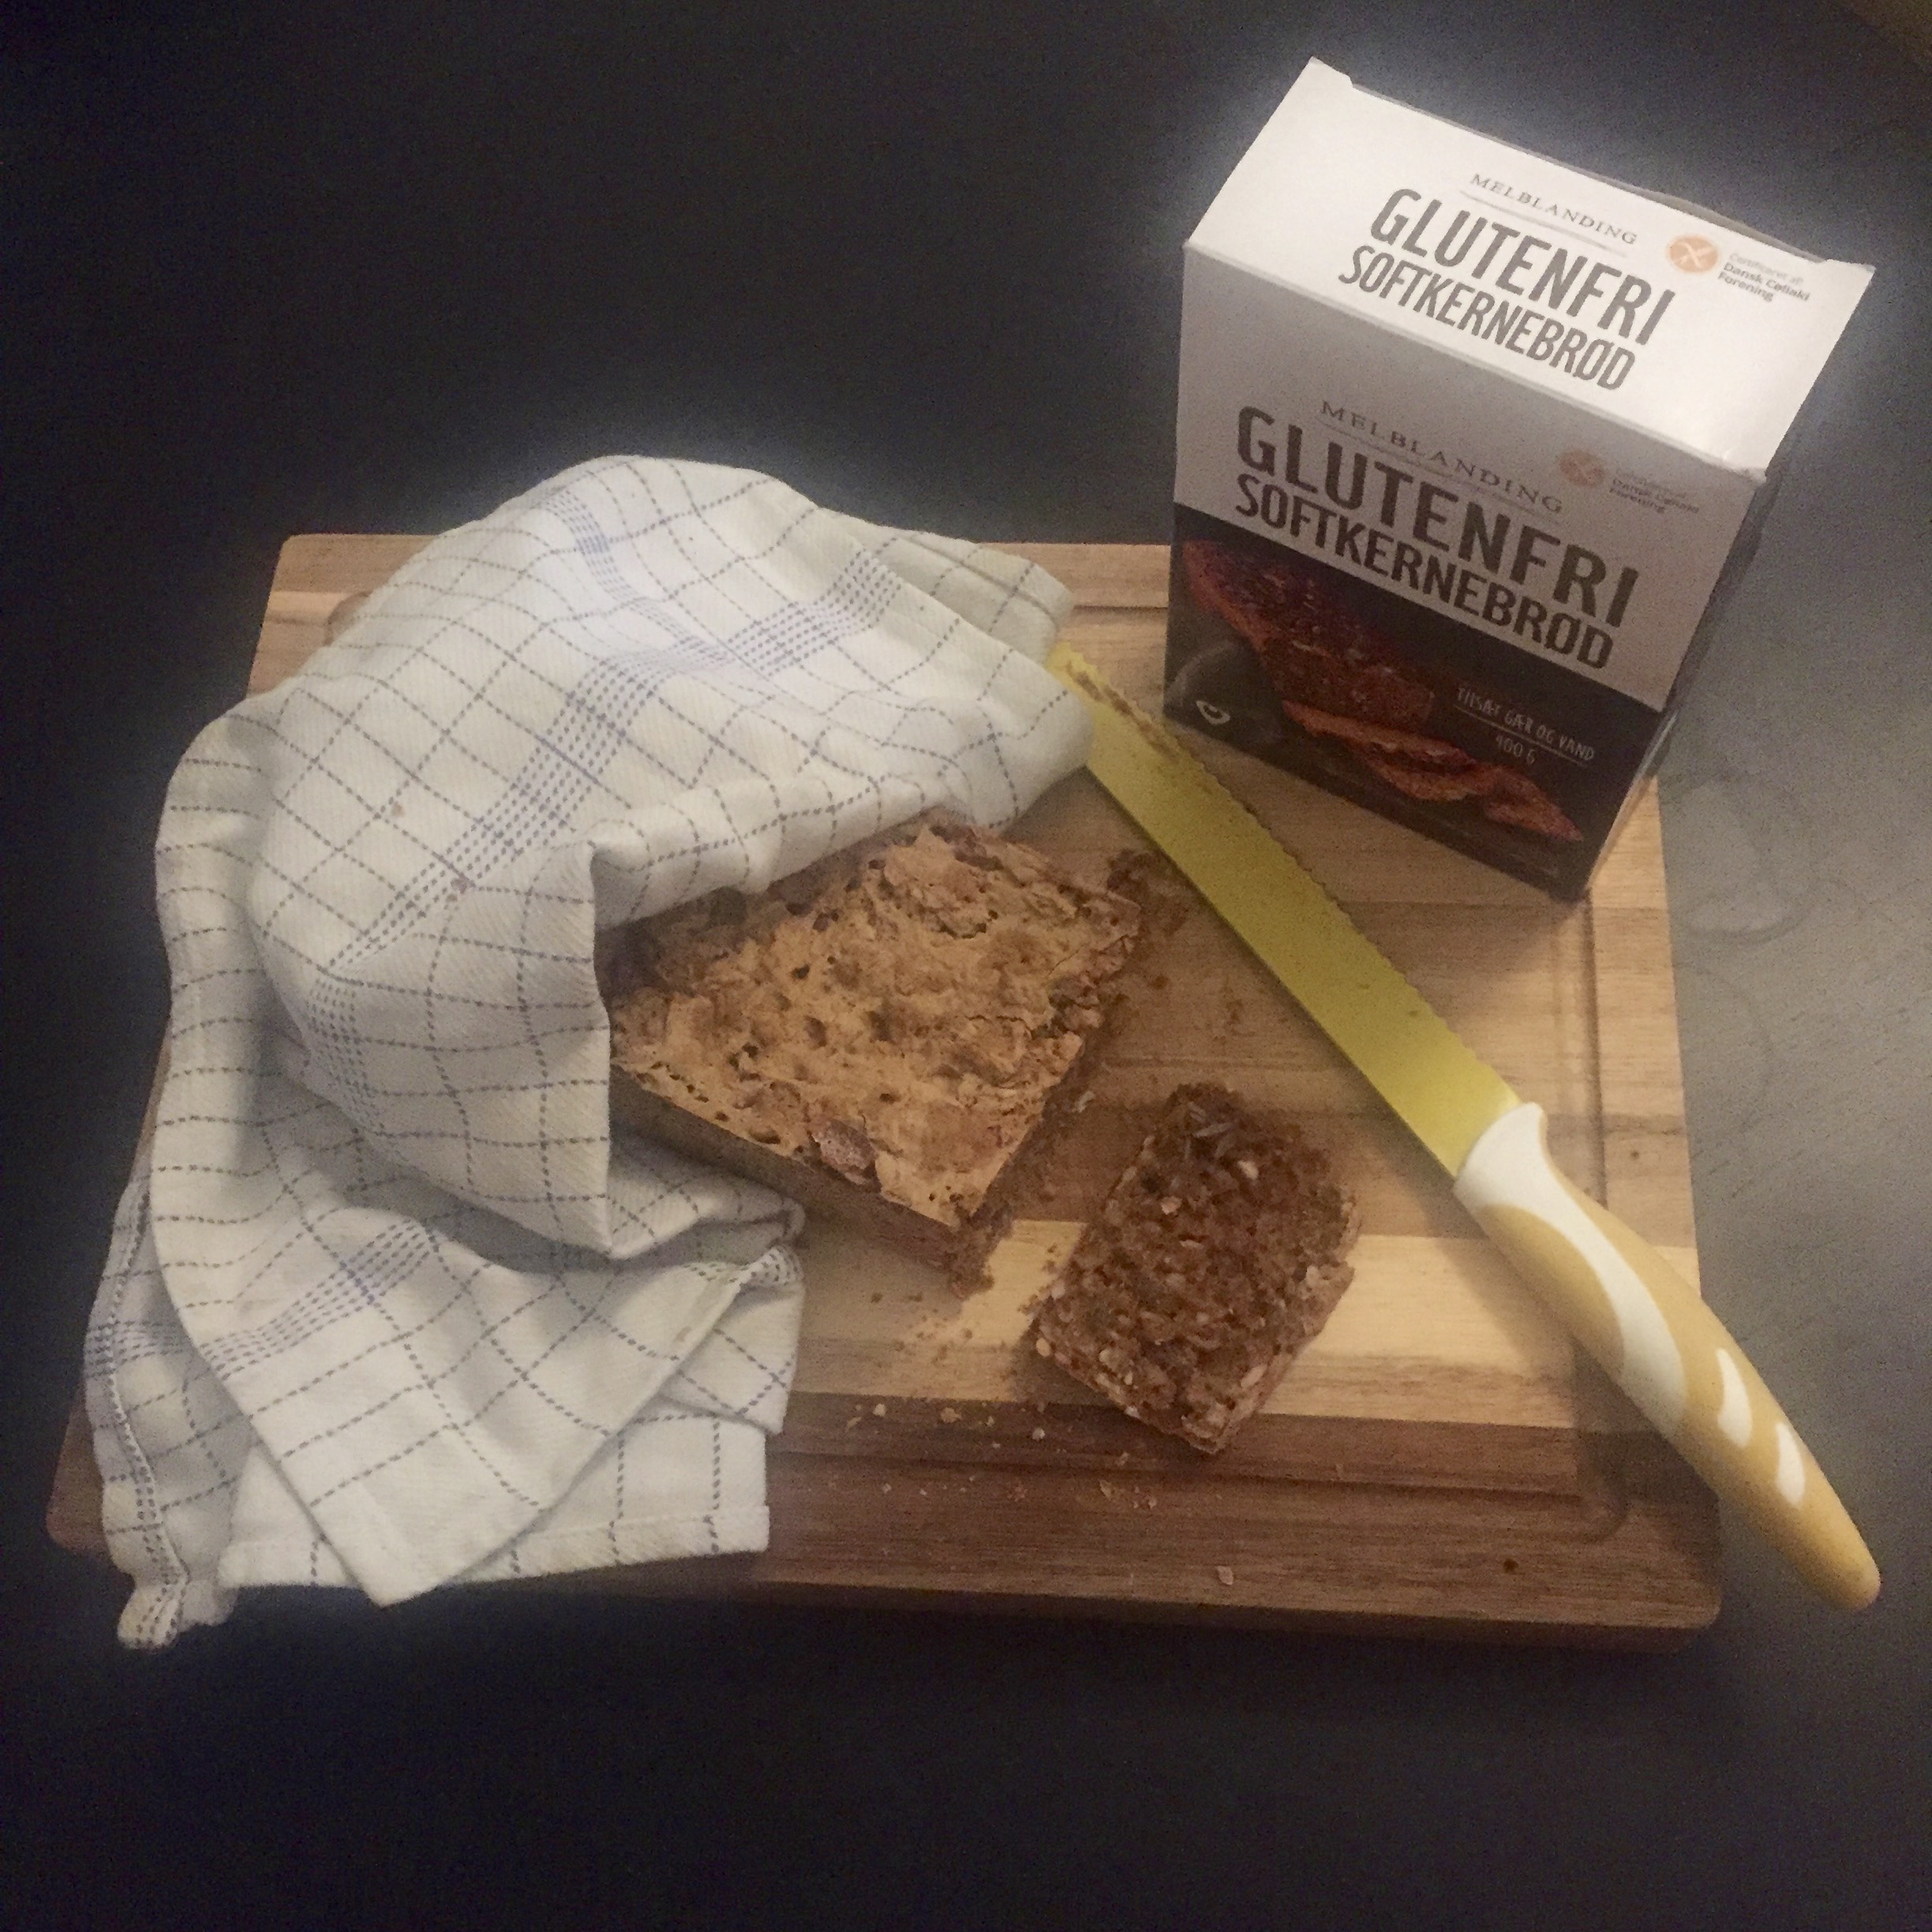
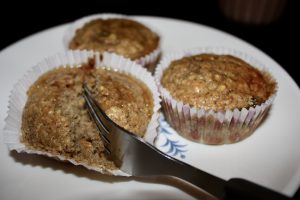
o read the inscription to be sure there isn’t any diary in it) and are baked in the oven 175 degrees for 15 minutes (fan-oven).

Voilá – delicious breakfast muffins to go. Add some sugar on top or eat them with a cup of tea in the afternoon. They will satisfy that small hunger that aches for sugar after school or work. 🙂

Share

I’ve been trying to find the perfect glutenfree and milkfree recipe for scones. The ones on the picture, I was not satisfied with, but I think it had to do with the sirup I put in instead of sugar. Not a succes. Thus, today I present to you, my until so far best recipe for scones. Yay! They are perfect for the freezer, to take with you for that event where you don’t know whether or not the hosts have considered your specific diet. Or just for a rainy day, with a cup of the or coco and a good scone.

Ingredients:
4,5 dl flour (I used 2 dl coco fiber flour and 2,5 dl buckwheat flour)
2 tsp baking powder
2 tsp vanilla sugar
A pinch of salt.
80 gr butter (I used Becel, which is plant based butter).
2 eggs
2 dl soyamilk
3 tbsp sugar
Juice from a half lemon
100 gr chocolate.

Mix flour, baking powder, vanilla sugar, sugar and salt together. Add eggs, butter, lemon juice and the soyamilk to the mix and stir. Let it become a soft dough, chop the chocolate into smaller pieces and add that to the mixture. After it has been stirred into the dough. Then you divide the dough into smaller potions on a baking tray and put in a preheated oven (200 degrees). Mine where done after 10-20 minutes. And then you have until so far the best scones! Now, I admit that this recipe will change in the future. Because I have a ton of ideas for how to improve the taste! So stay tuned and remember

“the more you weigh, the harder you are to kidnap. Stay safe, eat cake!”.

Share

I have literally tried any type of diary-free ice-cream, but none as good as this one. It is one of the Danish Fitness / healthy food-guru’s that made this once in TV, and I just have to share this recipe with anyone who wants to listen! IT IS AMAZING. If you are a Dane – look here. To those of you who don’t understand Danish, I will translate. It is made by Michelle Kristensen and she has a lot of amazing ideas and easy recipes! I loooove this! 3 frozen bananas is put in a blender together with 0,5 dl almond milk, 2 fresh dates (remove stone) and 1 teaspoon peanutbutter. Blend it all and eat!! It is amazing and I simply cannot get enough! The other day I included some frozen berries and it did not destroy the ice-cream. Hopefully you will love this ice-cream as much as me.. and do check out her site! She is amazing!

Another amazing version of an ice-cream is blending frozen fruit with a tad of sucker free sucker and coconut-milk from can. Top it with different things a voila. Another creamy amazing ice-cream – sucker free even (except for the sucker in the fruit).

Share

In the beginning of my glutenfree, milkfree lifestyle it was difficult for me to figure out where to eat when eating out. I hated being one of those women asking about gluten and milk – because I always considered it ridiculous. But feeling my body change, the sudden ability to exercise and run long distances made me aware of the fact that my body cannot eat gluten and diary products. One day I visited a cafe in Aarhus called Cafe Glad (Café Happy) with my cousin.

It was the only cafe I knew about in Aarhus that could be a place for me. They did not have much glutenfree on the menu, but their sandwiches – Oh MY! Love! Joy! Happiness! (Maybe you have realised by now, that you win my heart by serving me delicious food!). Again, as the previous recommendations, it is on the expensive side, but the food is delicious and therefore, worth it. The vibe in the cafe is cozy and hyggelig. Down to earth. And I love that. You can also just buy the food and take it to go.

Café Glad is a good opportunity for lunch and brunch opportunity and worth a visit.

View Map
Share

Jeg elsker amerikanske pandekager og specielt dem her. De er nemme at lave og lækre luftige. Der skal ingen sukker i og kan steges på en pande uden fedt, hvis man er i besiddelse af de der smarte pander hvor man ikke behøver sådan noget som fedt for at lade pandekagerne slippe. Så der er minimeret på det usunde, så man kan fyre godt under siruppen når man spiser dem.

Ingredienser:
3 æg
1 tsk salt
1 tsk bagepulver
2 tsk vanille.
100 gr boghvedemel (eller andet alternativ).
1,5 dl plantemælk (Soya eller mandelmælk).
Evt 1 tsk kanel og skiveskårne og skrællede æbler.

Fremgangsmåde:
Del æggehvider og æggeblommer ad. Pisk æggehviderne med saltet til skålen kan vendes på hovedet uden at indholdet falder ud. Bland æggeblommer, mælk, bagepulver og vanillesukker sammen i en skål for sig. Vend melen ind i den til den får en flydende men ikke for flydende konsistens og herefter vender man æggehviderne i blandingen. Vend dejen til æggehviderne bliver en del af dejen. Til sidst klatter man dejen på en pande, vender og værså god – så er der amerikanske pandekager.

Hvis du er til lidt ekstra muf og mums kan man med fordel vende 1 tsk kanel i og evt 1-1,5 æble (skrældet og skåret i tynde skiver) i dejen og stege dem på panden. Det gør dem også monster gode!

Alt jeg har tilbage at sige er: Velbekomme.

Share

The first time I went to this restaurant was in the early days of my Aarhus time. At first, I loved their burgers and fries. But when I went gluten- and milkfree, this also became my favourite pizza place in Denmark. Their glutenfree pizza’s are to die for and always with tons of fillings on top despite ordering them without cheese. When you go have pizza anywhere else, I find that glutenfree options, fillings on top are often spared and scares. But at Mackie’s you really don’t have that problem. And, I was full after one pizza and I’ve eaten here almost every time I’m in Aarhus. They also serve other Glutenfree options in the restaurant.

The atmosphere is really cool with no place on the wall left empty. Souvenirs, shirts and many many other things adorn the walls which fills the restaurant with tons of color and life. And, you can actually hear one another speak and enjoy each others company.

On the flip side, you cannot eat with cutlery for your pizza. So it is with the sausages you call fingers you eat. Actually, some people have even been kicked out of the restaurant for asking. It sounds dramatic, and I find it a bit over the top, but with that being said, the staff is really friendly and are good at making sure, you know you won’t get a knife and a fork. Which doesn’t really matter to me! When ordering burgers and such you are of course given knife and fork – it is only when eating pizza.

This restaurant is definitely a place worth visiting when you find yourself in Aarhus anyway. Especially since Aarhus is the new city of culture in 2017

View Map
Share

Før jeg skiftede glutenholdige varer og mælkeprodukterne ud var den et hit. Lækker, blød og smushi. En af de nemmeste kager at kaste sammen og blandt andet derfor også min yndlings. Efter er den stadig et hit. Den er ikke ligefrem sund og kan laves både som bradepande eller muffins der kan fryses ned til den dag hvor man skal til en fest der ikke lige har taget hensyn eller ikke kunne overskue det glutenfrie og mælkefrie køkken – hvilket er HELT OK! 🙂

Jeg har omdannet en opskrift jeg har fundet på dk-kogebogen.dk, som kan findes her.

Ingredienser:
2 æg
180 gr sukker
150 gr mel (jeg tager halvdelen som kokosfibermel (det smager skiiiiide godt!) og den anden halvdel som et hvilket som helst alternativ, evt mandelmel, boghvedemel eller andet glutenfrit alternativ.)
2 tsk bagepulver.
1 tsk vanillesukker.
1 tsk kanel.
2 spsk peanutbutter.
250 gr Æbler.
evt 3 tsk citronsaft.

Fremgangsmåde:
Pisk æg og sukker sammen til en luftig masse. Vend peanutbutter, mel, bagepulver, kanel og vanillesukker i massen. Dejen hældes i en bradepande, springform eller muffinforme. Skræl æblerne, skær dem i tynde både og læg dem i dejen. Sørg for at de kommer HELT NED i bunden af muffinformene eller den form du har valgt. Der må gerne være masser af æble i, men smag og behag. Drys kanel og derefter sukker over kagen og bag dem i 20-30 min ved 200 grader i en almindelig ovn. Tjek lige om de skal have lidt mere i ovnen før de spises.

Resultat er lækre peanutbutter, kokos, smushi kage. Lækkert!

Share

A while ago I got this stew or beef caserole, or whatever you would call it. Since, it has been one of my favourite dishes of all time! Today, I will present to you my version of the same dish. Easy to make. Gluten and Milkfree. Perfect for the everyday dinner or party! And, you will become the favourite cook among the gentlemens. Psst… Btw, definitely NOT vegan or vegetarian.

(more…)

Share

Da jeg omlagde min kost til at være gluten- og mælkefri, troede jeg, at jeg aldrig skulle smage rugbrød igen. Jeg har prøvet mange forskellige bag selv brød for at finde det bedste til frokosten. Men har endnu ikke før i går fundet det helt rigtige brød.

Men i går, faldt jeg over et form for bag selv brød, jeg blev nødt til at prøve. Jeg køber som regel mel i Rema 1000 fordi det er det bedste mel jeg længe har prøvet. Lige ved siden af, stod brødet jeg bare var nødt til at prøve.

Det koster 25 kroner, tager omkring 1,5 time at lave og man skal kun tilføje vand og gær. Resultatet er et groft, velsmagende, rugbrødslignende brød. Det var en anelse blødt at skære i, men det kan sagtens have noget at gøre med min entusiasme over brødet, hvilket forårsagede at jeg nok var lidt hurtig til at skære i det. Men det smager simpelthen så godt og vil fremover være en basal vare i mit glutenfrie og mælkefrie køkken. Desværre er det ikke rent glutenfrit og der er glucosesirup i, derfor vil dem der er gluten allergikere ikke kunne bruge dette brød. Men det er naturligt frit for mælk så den del er der ikke problemer med. Til trods for disse få kritikpunkter får brødet 5 ud af 5 stjerner for fantastisk god smag, groft lækker konsistens og sværhedsgrad at lave.


When I went gluten- and milkfree I never thought I would ever taste the Danish classic: “Rugbread”. A ‘rough’ peace of bread that is way more healthy than white bread. I have tried different ‘bake it yourself breads’ in order to find the perfect bread for lunch.

However, yesterday I found my favourite bread of all time. I usually buy flour in Rema 1000 because they have the best glutenfree flour and next to the flour was a DIY bread I had to try out.

It costs about 25 kroners, it takes about 1,5 hour to make and you only have to add water and yeast. The result is a dark bread which is probably the best I’ve ever tasted. This DIY bread gets 5 out of 5 stars from me and will be a basic in my glutenfree and milkfree kitchen.

These tests are based on products from Danish stores. 


Share